If you'd rather speak to someone now, call
+91 7219084311.
You can also email us at hello@valardigital.com
+91 7219084311.
You can also email us at hello@valardigital.com
Shopify is one of the most powerful eCommerce platforms in the market, where you can easily set up your store and start selling online. Since Shopify is a hosting platform, you don’t need any complex coding skills to start immediately.
Setting up your Shopify store is the first step towards your eCommerce success. Therefore, Shopify’s dynamic store-building experience helps you build an online store quickly and easily.
Shopify offers more than just stunning brand templates. Various apps and plugins can be used to sell products and increase your sales online like a pro!
Understanding Shopify product pages carefully is the next step in our list to drive traffic to your store. You can optimize your store performance and SEO only if your basics are on point.
In this article, we explore the products page in Shopify, where we’ll learn how to add products to Shopify and showcase every product in your inventory with a Stock Keeping Unit (SKU) tag.

You must log into your account before creating a product page on Shopify. If you don’t have a Shopify account, you can create one in just two minutes. Just click Create Shopify Account and get your extended FREE trial today!
While logging into your Shopify account, you can click ‘Remember me’ after entering your email address and password. Doing this will help your access your account quickly whenever you log back.
Search for the Products tag under the search bar in the admin panel. Between the options ‘Add product‘ or ‘Import products‘, select ‘Add products‘ to reveal the product page.
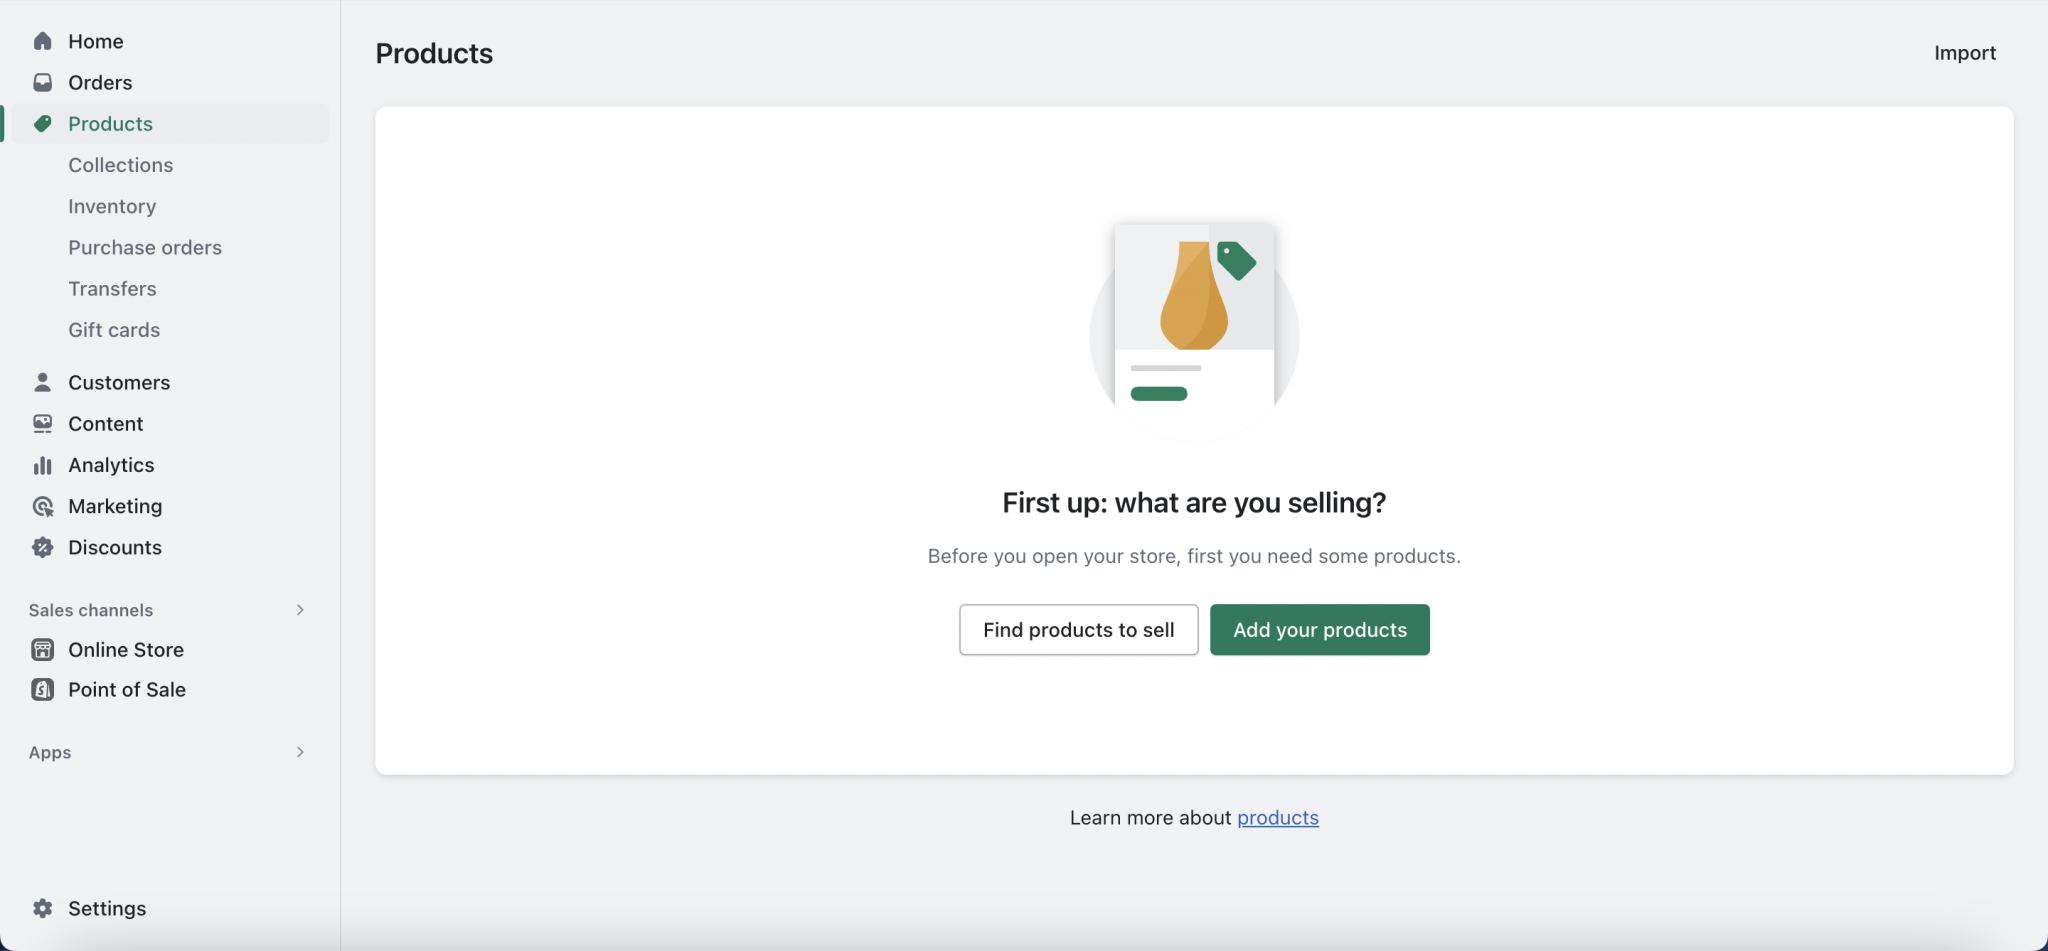
One of the crucial steps in adding products to Shopify is to fill in the product details properly. You are ready to start filling in your product details if you see this page.
Below are some of the important data you must fill in:
✓ Title: The title must be short and easily recognizable so the customers can find the product easily when they search for it. It’s unnecessary to include all the product info in the title itself, as it can be written in the product description.
You can even make consistent naming patterns for every product. For example: If you wrote a number in your product name, you must write the same in the rest of the products.
✓ Description: This is where you have to write a solid reason why your customers need to add the product to their bag. Understand your target audience and all the good reasons why the product will help them.
You can find a text editor section that you can use to emphasize all the vital information about your product. On the bright side, Shopify has introduced its AI product description writer, where you have to click ‘Generate text‘, and it creates stunning product-related text automatically.

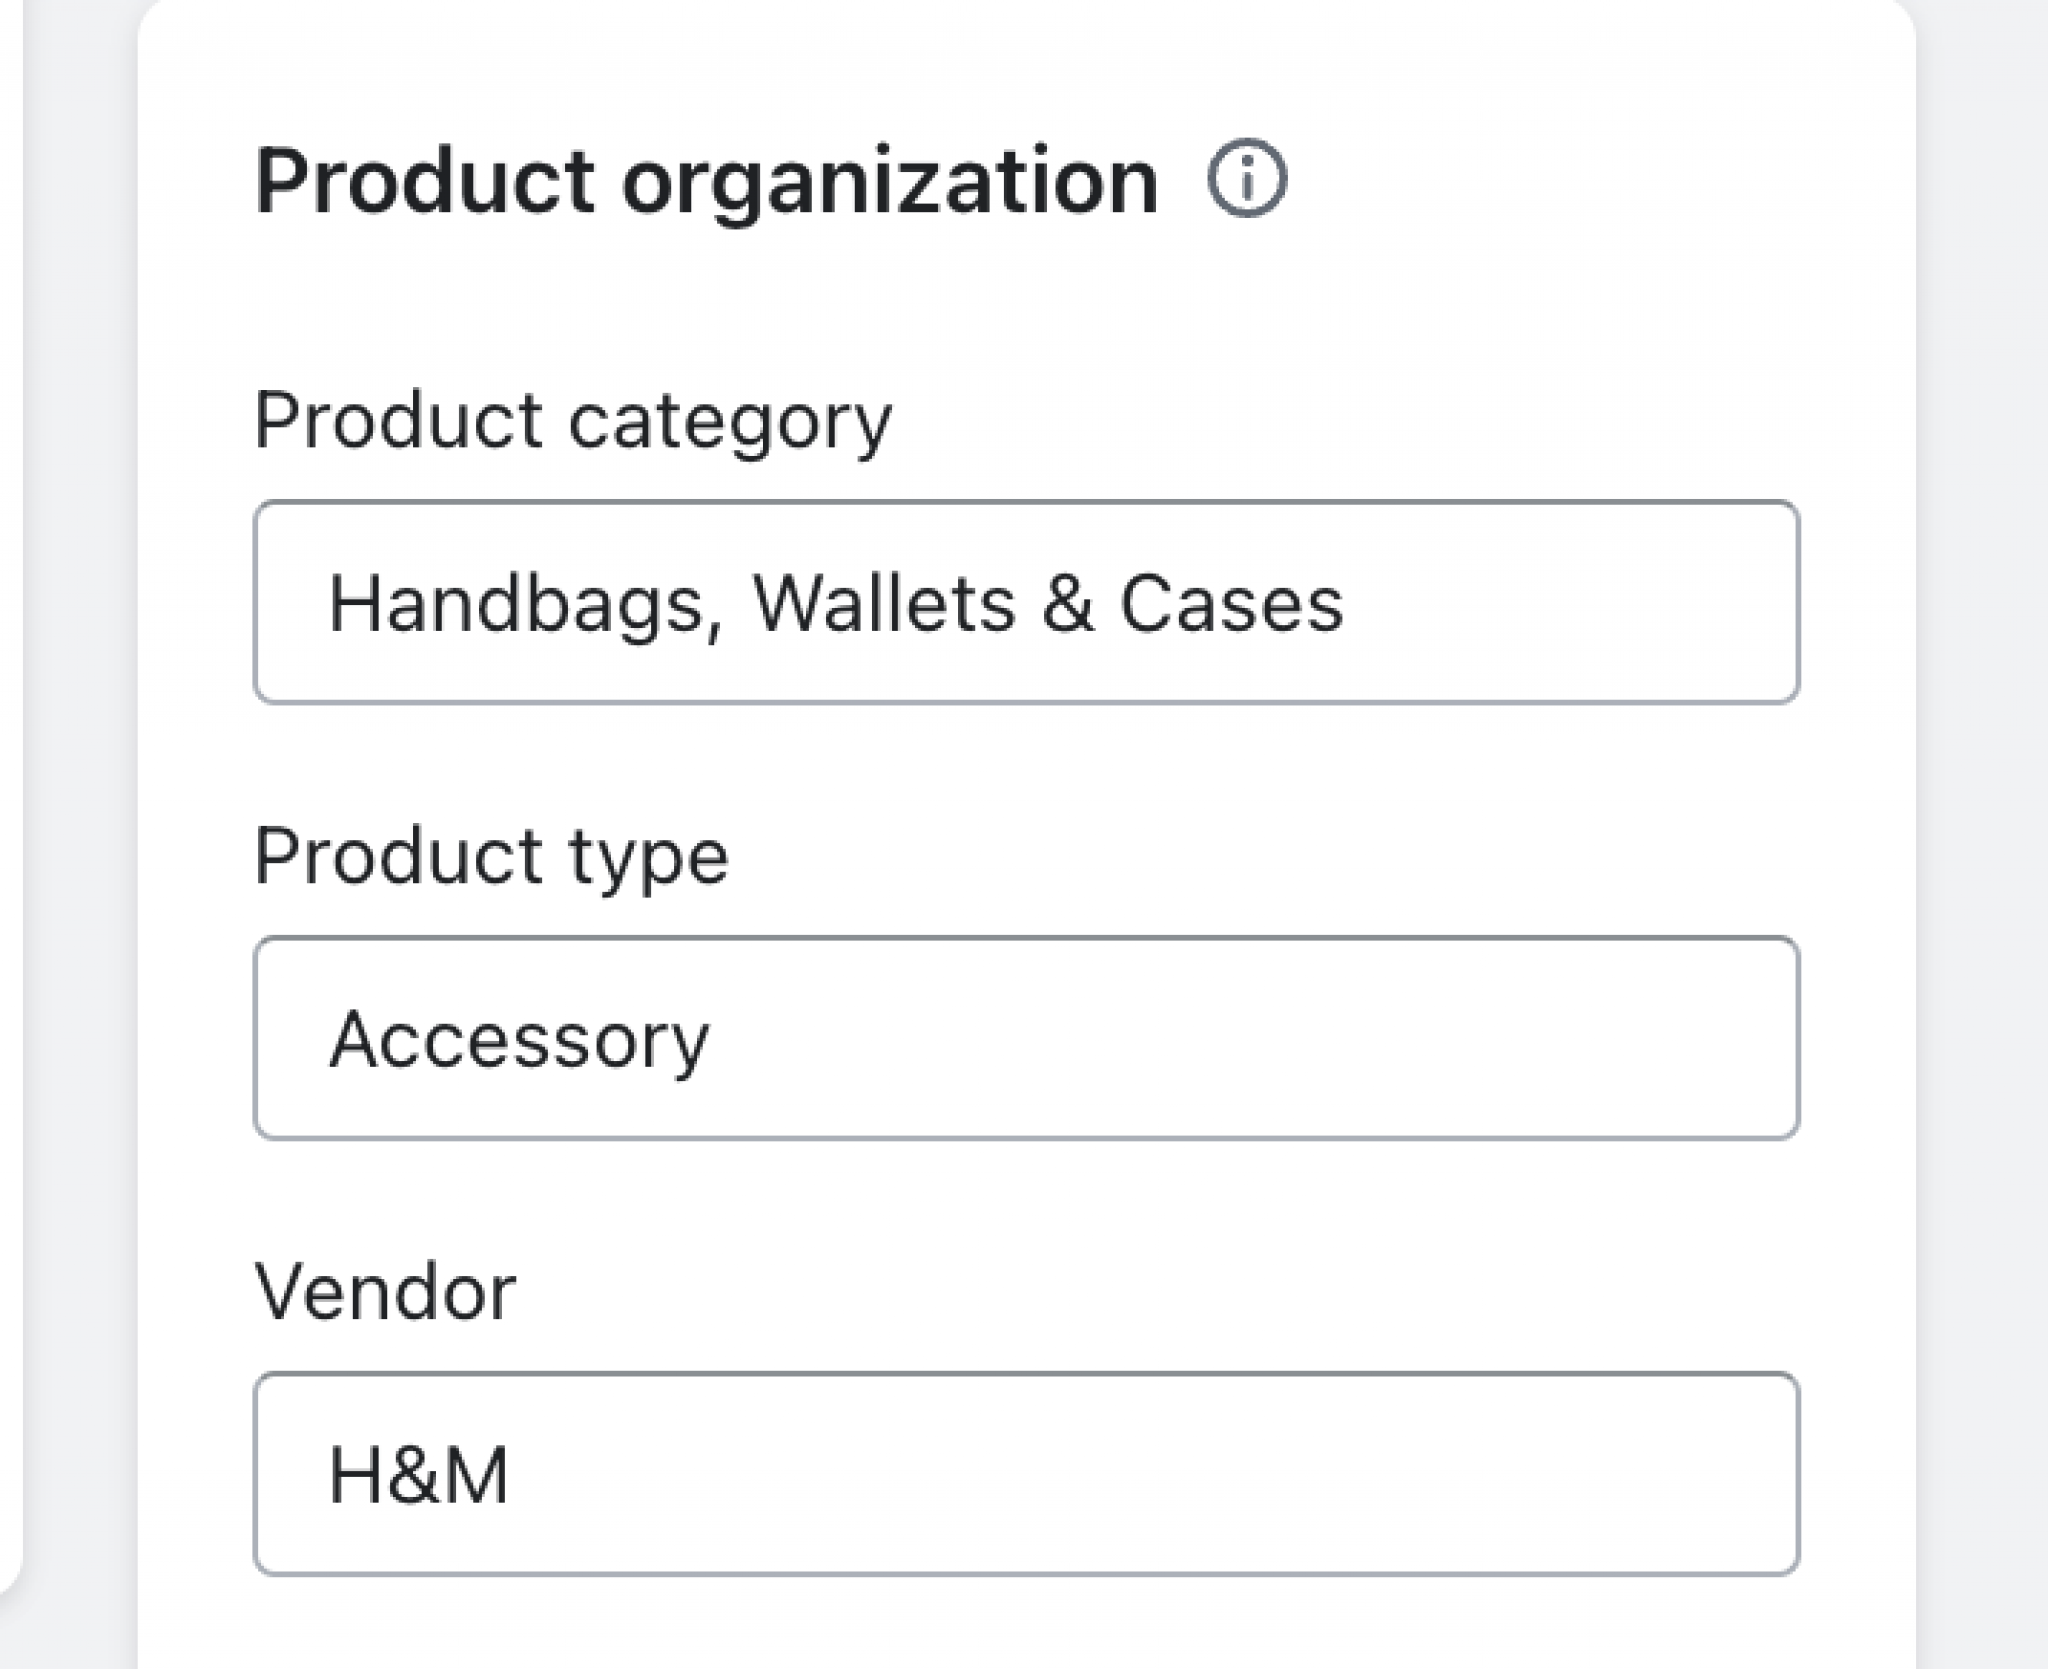
✓ Product Type: You must enter your product niche in this section. You must enter a word or a term to distinguish the product into its respective category. No creativity is needed in this part.
For example: If you’re creating a product page for tShirts, you can add it to the tShirts collection or in the Men/Women section.
✓ Vendor: You can always use your brand name if you own your products. Although, if you are selling other brands’ products, you can use the Vendor section to shout out the manufacturer.
A picture can describe thousands of words. Therefore, a product image can explain much more to your customers than all the words combined. It helps people imagine the product without visiting the store physically.
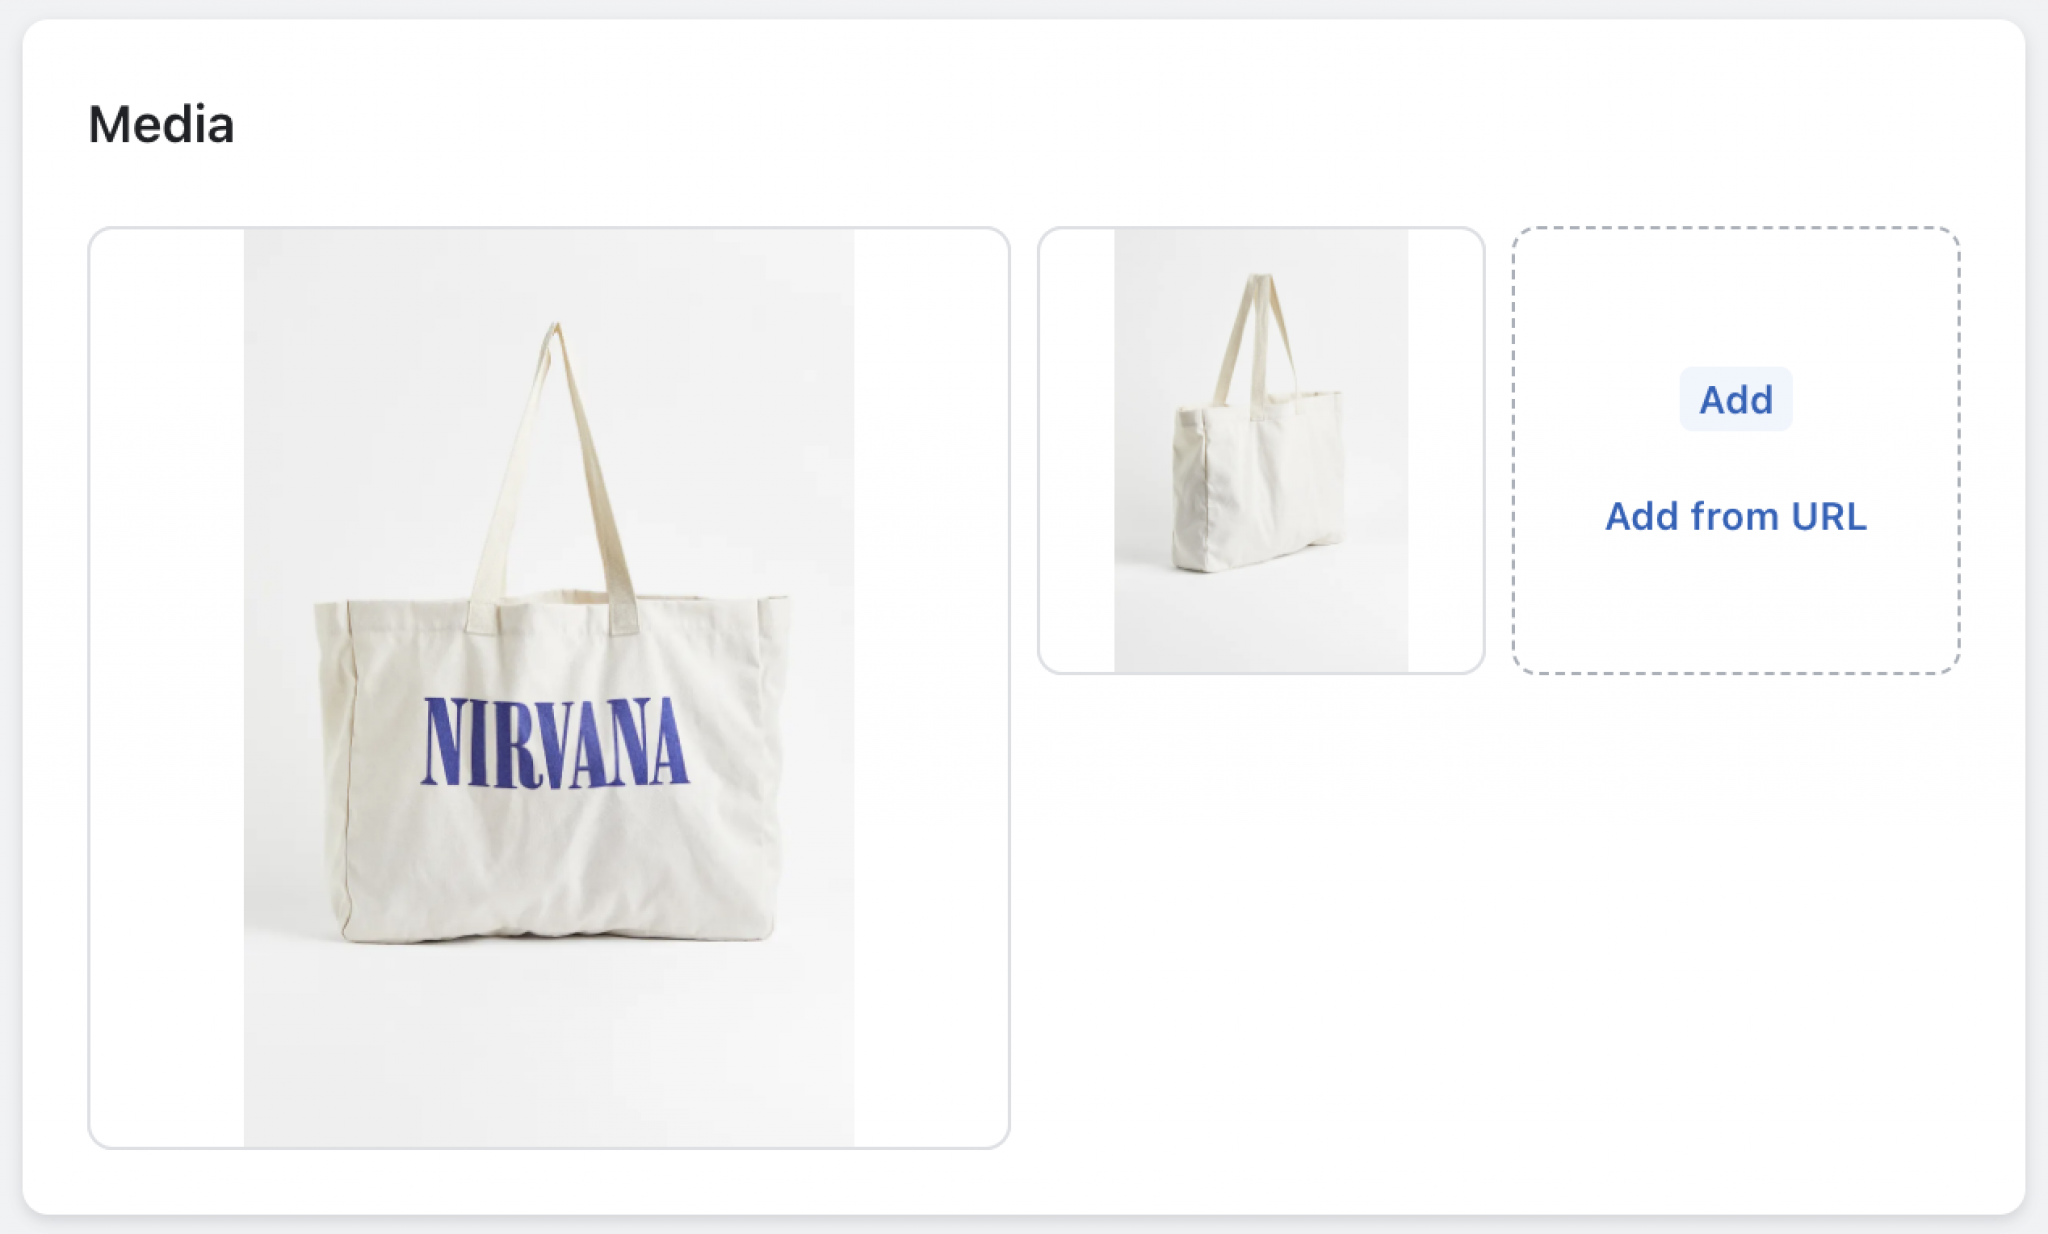
Adding considerable images with different angles with appropriate formatting and alt text can cause wonders in your customer retention.
Consistency is the Key. You can try searching for relevant keywords which can be used in the image title so the customers can be derived easily to your store through search engines.
For example: If you are buying a pair of shoes, you can capture a high resolution of your product in all the available colour options of the same model. We recommend you ensure you have all the permissions to use the picture before accessing it.
Creating a product collection on Shopify has many benefits of its own. Firstly, your Shopify collection helps you organize your store, and Secondly, you can deliver a much more sophisticated user experience because of how quickly people can find what they’re looking for.
For example: If you sell clothes, you can add light fabric T-shirts and Pants to the Summer collection. However, T-shirts and Pants can be a different collection of their own.
Remember: Products can belong to one or more collections. It’s up to you to understand the hierarchy and send the item to its respective collection. Collection names must be based on your customer’s search terms and behaviour.

That being said, here’s how you can add products to Shopify:
You can add products to your collection in two ways. I.e., Manual and Automated. Most eCommerce store owners prefer an Automated way of adding your product to your collection as most templates offer a stand-alone collection image. However, if you don’t add anything, it’ll automatically take the first product image.
If you want to up your Shopify products inventory game, the above steps are insufficient. You must follow some additional settings to get a good output.

✓ Costs: You must ensure that your products are reasonable to your brand. Therefore, discounts and coupon codes are equally important when it comes to product pricing.
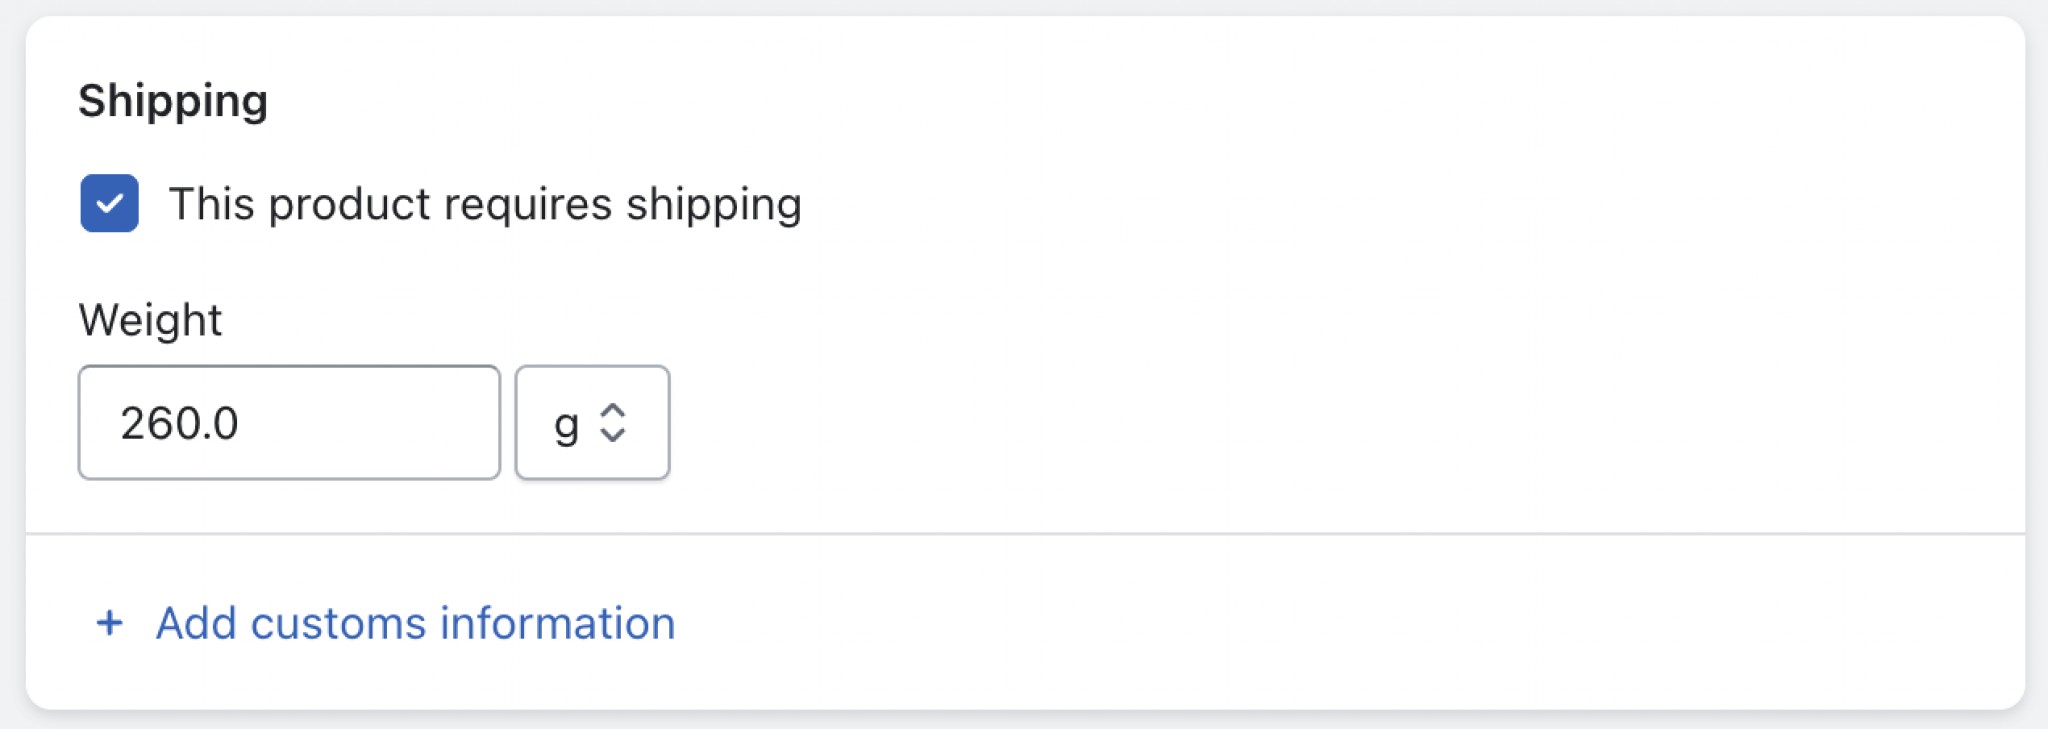
✓ Shipping: Setting up Shipping costs for every location prior to the orders is one of the most vital steps in the eCommerce business.
Shopify provides three reliable services:
You can reduce the number of preferable shipping options from the list and choose the one that is the most convenient for your business.
✓ Product Reviews: You can also add a product review feature if you are confident in your product. Doing this will help your customers interact with your brand and help hike the trust value in overall quality of service.
A Search Engine Optimized store can help navigate your business growth through customer demands. Proper research about your customers and their demands can cause wonders in your sales.
✓ Find your target audience through various powerful tools in the market, such as Ahrefs or Semrush, etc.
✓ Do a thorough keyword research and collect them in a Sheet.
✓ Insert those keywords into your product inventory, such as product name, description, meta tags, etc.
✓ You can also look for SEO-friendly Shopify plugins on the Shopify App Store to make things easy.
Before moving to the final step, you must ensure all your product information is correct and properly formatted. You can now click the Save Product button and see your product published on your Shopify store!

To make it more convenient, you can find the option that says View on your website as soon as you hit save. Doing this will redirect you to the preview window where all the product information is available.
PS: Return to the previous page to edit the product details if necessary.
To delete a product on Shopify, head to your admin page and click Products > All Products. Find and select the product you want to delete. In the product details page, select Delete product. Confirm again.
Your product is deleted from Shopify.
There are mainly two ways:
Find all of the methods on our website.
You can find many third-party apps and plugins to include digital products in your store.