If you'd rather speak to someone now, call
+91 7219084311.
You can also email us at hello@valardigital.com
+91 7219084311.
You can also email us at hello@valardigital.com


This article can be your stepping stone for a Shopify migration, as users can ensure all the setup tasks are carried out successfully.
Shopify migration can be conducted in two different ways:
1: Using apps and tools provided by Shopify.
2: Using the manual migration method.
Shopify users can carry out the process by using the various apps available on the Shopify Store, whereas Shopify Plus Users can also use the Command Line Tools to do the same.
Important: Your store products and data have been saved or duplicated. Thus, migrating to Shopify can take time as per your store size. Be patient until the large data is processed throughout the migration.
Here are a few things that must be taken care of before adding products and integrating payment methods:
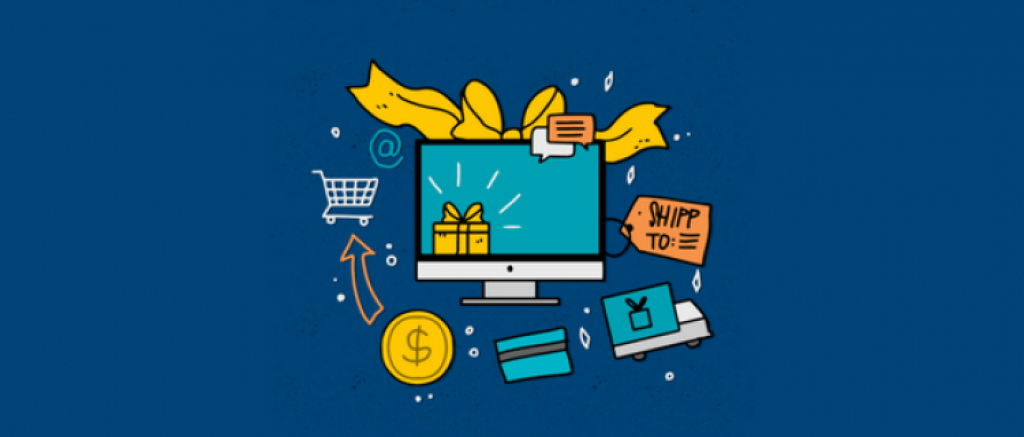
Migrating to Shopify includes your product bank, articles, and other information from the old platform, such as customer transactions and billing info.
It sure takes time to plan every step, so we advise you to be patient. Make a list of important steps to carry out, such as:
It is important to put things in order if you import all the products, customers, and historical data. You can follow the below order:
If you follow the order correctly, you can access all your customers and transaction history. The migrated order will also be linked to your users.
You must ensure your product data is imported correctly if you are migrating using apps provided by Shopify. Knowing the difference between digital and physical products in your store is also important.
Things to verify after migration:
✓ Check product details: Image, description, variants, and meta tags.
✓ Create a collection: Create a dropdown menu to organize your products into their respective category.
✓ Keep track of products: Find product inventory apps on the Shopify App Store and manage transfers.

When shifting to a new store, you’ll need a kickass theme to suit your product niche. To help you with that, the Shopify themes page. You can also customize your theme for your online store by adding it to your admin panel.
There are two ways to apply a theme to your website. You can easily add it for free within your admin panel or buy a paid theme from the Shopify theme store.
You can set up your new Shopify store in two ways: Buy a new domain or transfer the existing domain associated with your old store.
Remember: You must disconnect your existing domain before migrating from your previous platform to avoid SSL certificate errors.
It is very essential to set up shipping rates and methods before launching your new site. Asking your customers for more after charging them or refunding them for overcharging can become a big mess.
This won’t be the case if you’re selling digital products and services, as only physical goods need a shipping process.
Here’s how you can set up shipping:
Charging sales tax is a vital part of the business. There are different sets of rules and regulations depending on your locality. We suggest you take some time to understand the Shpify tax setup process to ensure your store complies with the sales tax rules.
When you set up shipping methods, you’re now applicable for shipping taxes. The rules will be complied with as per your customer’s local, state, or provincial tax regulations. Shopify will automatically calculate the tax shipping charges.
If you want to adjust taxes manually, you can use tax override according to your specific product collection.
A payment provider must be integrated into your store to ensure your customers are paying. Whenever a user needs to buy, a payment provider is there to accept your credit cards with top-notch security.
Shopify offers its own payment gateway service, although you can also use any third-party payment.
Here’s how you can set up your payment provider:
You’re applicable for placing orders only when you have configured your payment settings. Now, you can ensure the setup is running successfully; you can process a few test transactions.
You can also get familiar with the process your customers go through while placing their orders.
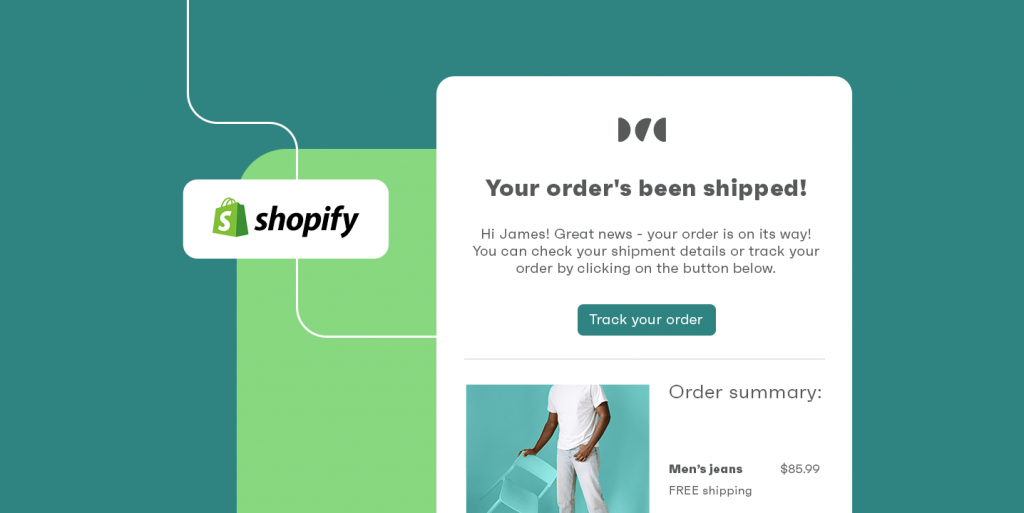
Access all your customer orders through the Orders page in your Shopify admin panel.
URL redirects are also one of the most important stages in the migration process. To learn more about that, visit our comprehensive pre-migration guide to Shopify.
Congratulations on your new store! After setting up a successful migration, you can invite customers to their online store accounts. If you have a lot of customers, you can use various apps on the Shopify App Store.
If you’re using Shopify Plus, you can use the Shopify bulk account inviter app from the store.
Shopify is the most dominant platform in the e-commerce market. We assure you the services offered by this platform are world-class and reliable. We at ValarDigital recommend Shopify as a default e-commerce platform for anyone who wants to migrate.