How to Add Products to Shopify – A Complete Guide
Adding products to your store is the next big step after launching your Shopify store. Whether you’re a fashion brand, a handmade crafts store, or a digital goods store, Shopify has made it simple for everyone to upload and organize their products without any coding or technical expertise.
In this guide, you’ll learn how to add products to Shopify step by step. We’ll also cover how to set product prices, images, and manage inventory to make them live so your customers can start shopping right away.
Key Summary
From creating your Shopify account to setting up your products, here’s what you’ll learn at a glance:
- Add product details: Fill in your product title, description, type, and vendor.
- Upload images: Use clear, high-definition images with their respective alt text.
- Create collections: Create groups for related products for easy search.
- Set pricing and shipping: Adjust the prices, delivery options, and reviews from customers.
- Optimize SEO: Research and add keywords to titles, descriptions, and their respective meta details.
- Publish: Review everything and hit ‘Save’ to go live with your product inventory.
How to Add Products to Shopify Step-By-Step?
If you haven’t yet, click here to log in to your Shopify account before getting started.
Step 1 – Filling in Product Details

Search and select the Products tag in the admin panel and click ‘Add products‘ to add new products to your store. Here you can start filling in your product details.
Title:
The title must be short with the right keywords so the customers can find the product easily when they search for it.
You can even make consistent naming patterns for every product. For example, if you wrote a number in your product name, you must write the same number in the rest of the products.
Description:
This is where you have to write a solid reason why your customers need to add the product to their bag. Understand your target audience and all the good reasons why the product will help them.
Shopify has introduced its AI product description writer, where you have to click ‘Generate text‘, and it creates stunning product-related text automatically, but keep your research solid, since you know your products better.
Product Type:
You must enter your product niche in this section. You must enter a word or a term to distinguish the product into its respective category. No creativity is needed in this part.
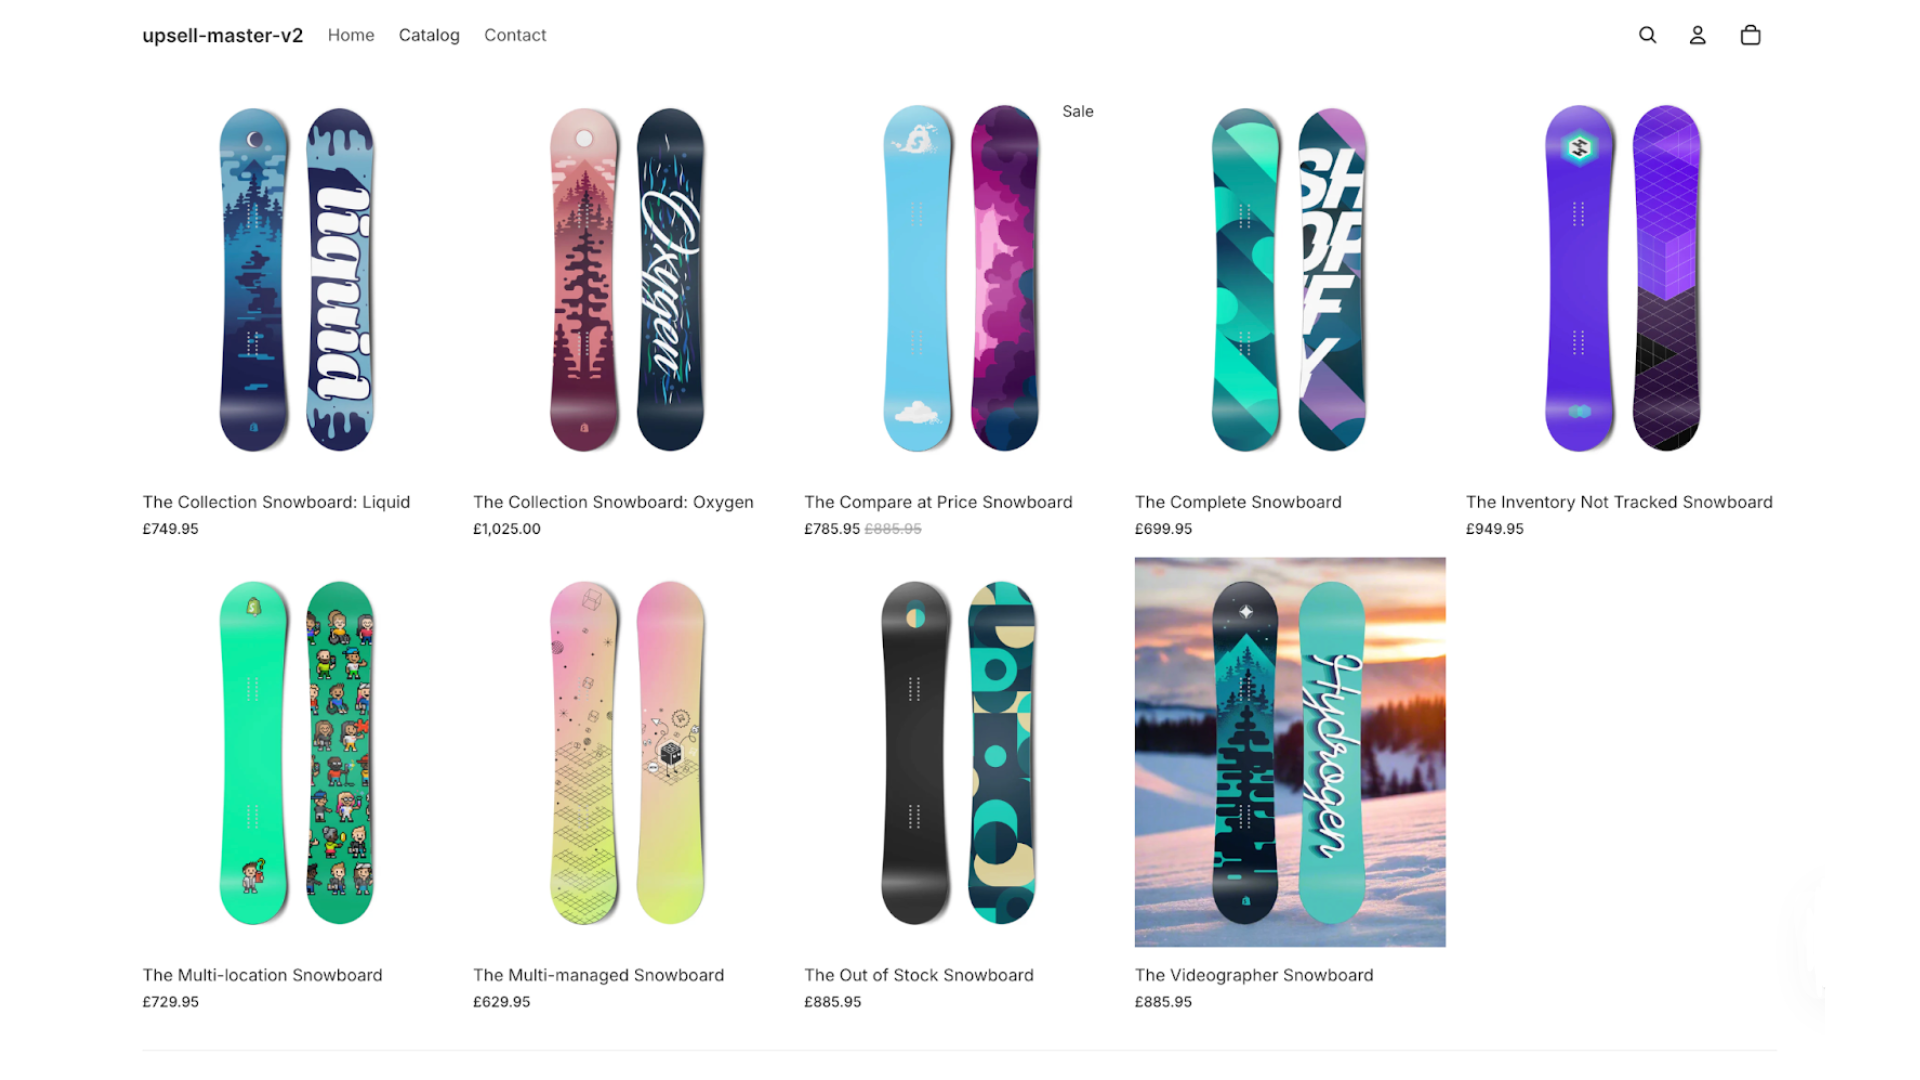
For example, if you’re creating a product page for snowboards, you can add it to the snowboards collection or in the sports section.
Vendor:
You can always use your brand name if you own your products. Although if you are selling other brands’ products, you can use the Vendor section to shout out the manufacturer.
Step 2 – Adding Media
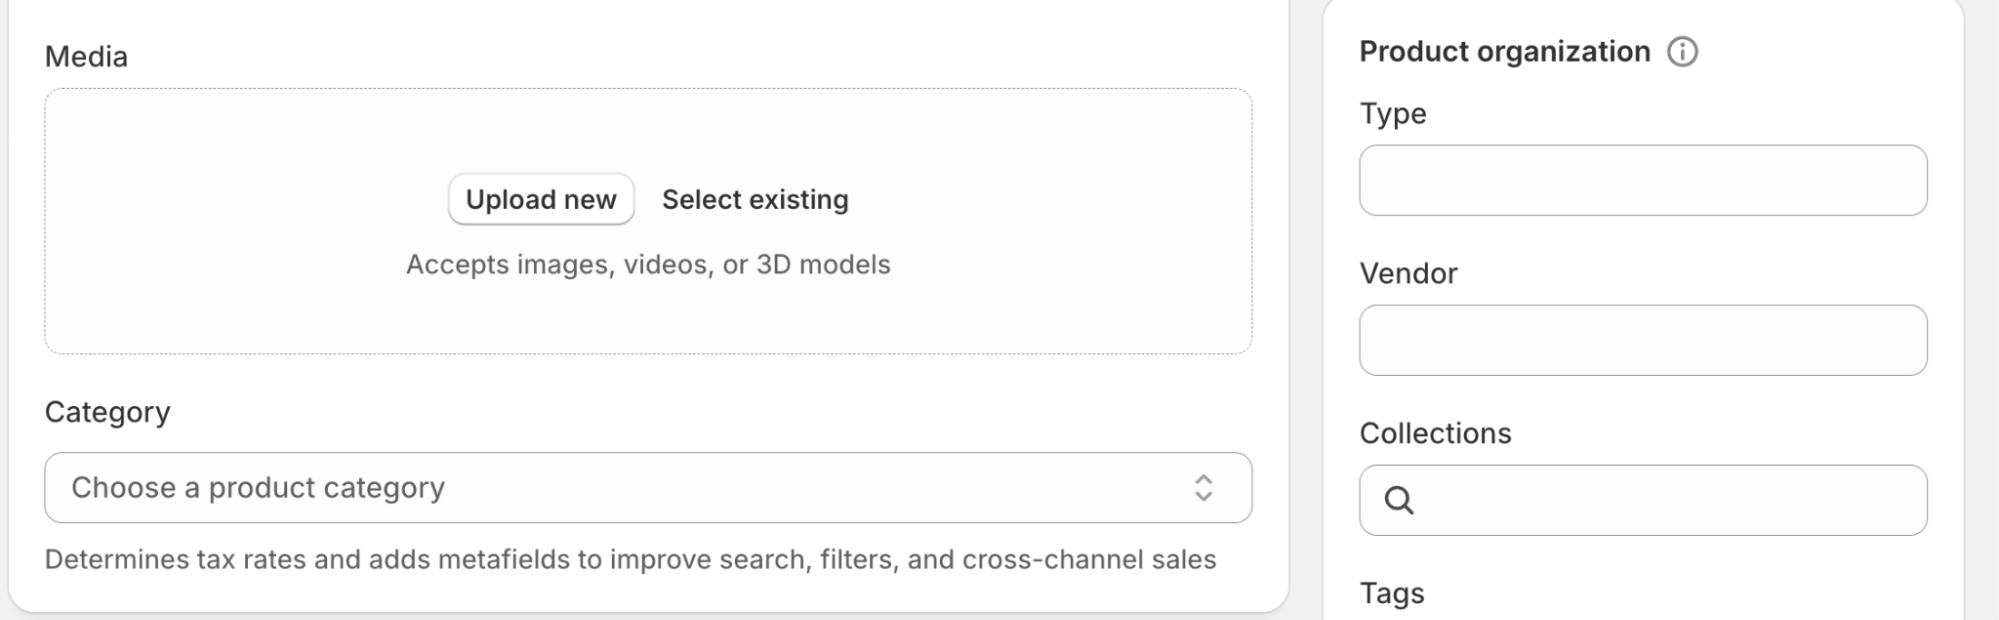
After adding the proper title and description, consider adding images by clicking on the ‘upload new‘ button and adding media where you can upload images in PNG, JPEG, or GIF that must not exceed 20MB.
You can also add 4k videos with a maximum length of 10 minutes that must not exceed 1GB per file. Search for relevant keywords that can be used in the media title or alt texts, so customers can easily be directed to your store through search engines.
For example, if you are selling snowboards, you can capture a high resolution of your product in all the available color options of the same model.
Step 3 – Creating a Shopify Collection
Your Shopify collection helps you organize your store so that you can deliver a much more sophisticated user experience.
Remember: Products can belong to one or more collections. You must understand the hierarchy and put the item in its respective collection. Collection names must be based on your customers’ search terms and behavior.
You can add products to your collection in two ways. i.e., Manual and Automated. Most store owners prefer an automated way of adding their product to their collection, as most templates offer a stand-alone collection image. However, if you don’t add anything, it’ll automatically take the first product image.
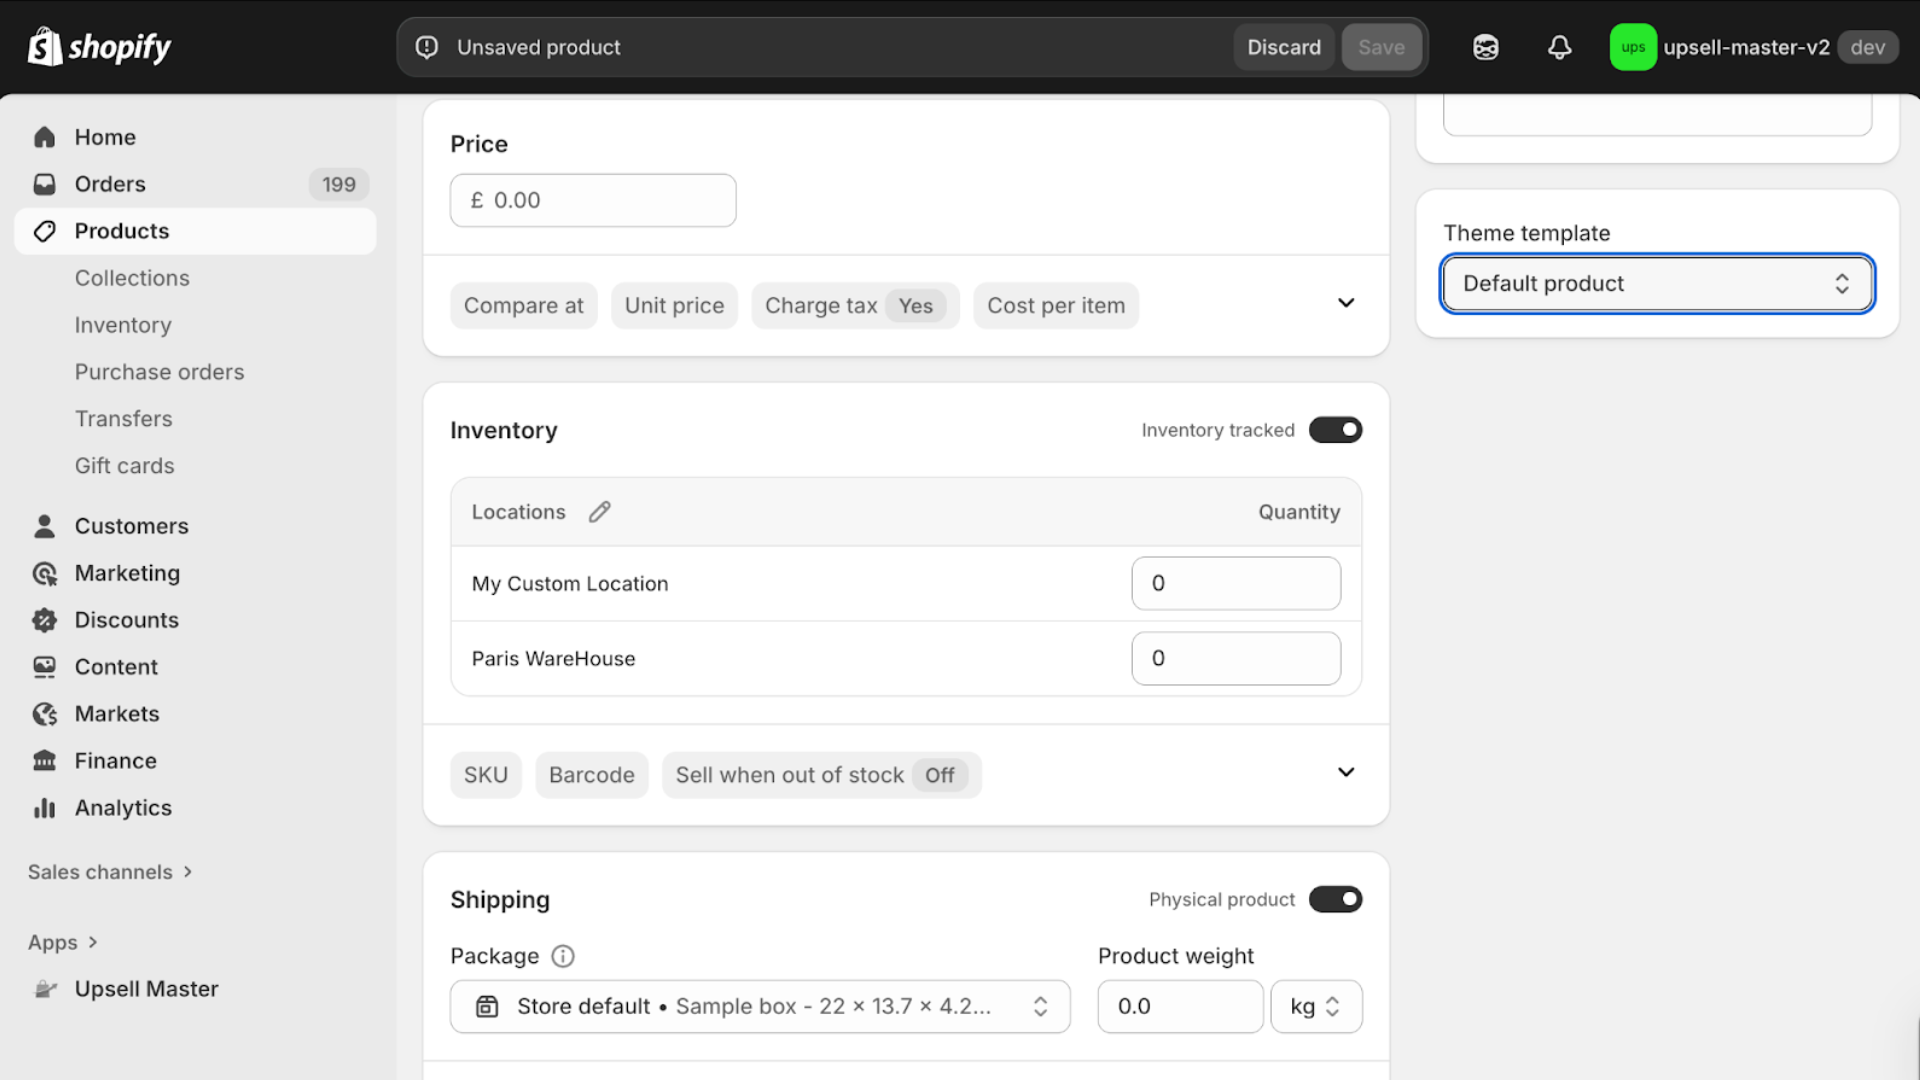
Step 4 – Add Pricing, Inventory, Shipping, and Reviews
Product images aren’t enough. We can now add the relevant pricing, inventory, and shipping details so they’re ready to add to the cart.
Pricing:
You must ensure that your products are reasonable for your brand, so discounts and coupon codes are equally important when it comes to product pricing.
If your product is priced at £700 and you add a compare-to-price of £750, your product will appear as £50 off. You can skip this option if it’s not on sale.
Use the Cost Per Item option to track the cost of goods you’re selling. Enter the price you paid per item without taxes, shipping, or any additional costs, so you can precisely track your profits using Shopify analytics.
If your product is taxable, click Charge tax on this product.
Inventory:
If you want to track your inventory, mark this option and choose your physical address if you handle inventory yourself. Add a unique Stock Keeping Unit (SKU) number to organize your stock and fulfill orders easily.
You can skip the Barcode field if you sell only online products. Now enable Track Quantity to prevent overselling, or select Continue selling when out of stock if you’re confident your products will be restocked at a particular time.
At last, enter your available product quantity as per your location if you have multiple sites.
Shipping:
In the shipping section, check if this is a physical product that requires delivery. If your products or services are solely digital, you can leave it unchecked.
Now, enter the product weight accurately to ensure correct shipping rates and select the right unit of measure (lb, oz, kg, or g) and proceed further. If left blank, Shopify defaults to 0.1 lb.
For international shipping, fill in your Country/Region of origin and the Harmonized System (HS) code to determine customs tariffs.
Since studies show that 55% of shoppers abandon their carts because of unexpected fees at the checkout, we suggest you include the shipping costs in your product price to maintain the conversion rates.
The average shopping cart abandonment rate globally is 76.26%, so we encourage you to create a seamless and transparent checkout experience using the Upsell Master app for custom interactive features for your store.
Product Reviews:
You can also add a product review feature if you are confident in your product. Doing this will help your customers interact with your brand and help increase the trust value in the overall quality of service.
Step 5 – Keep Your SEO a Priority
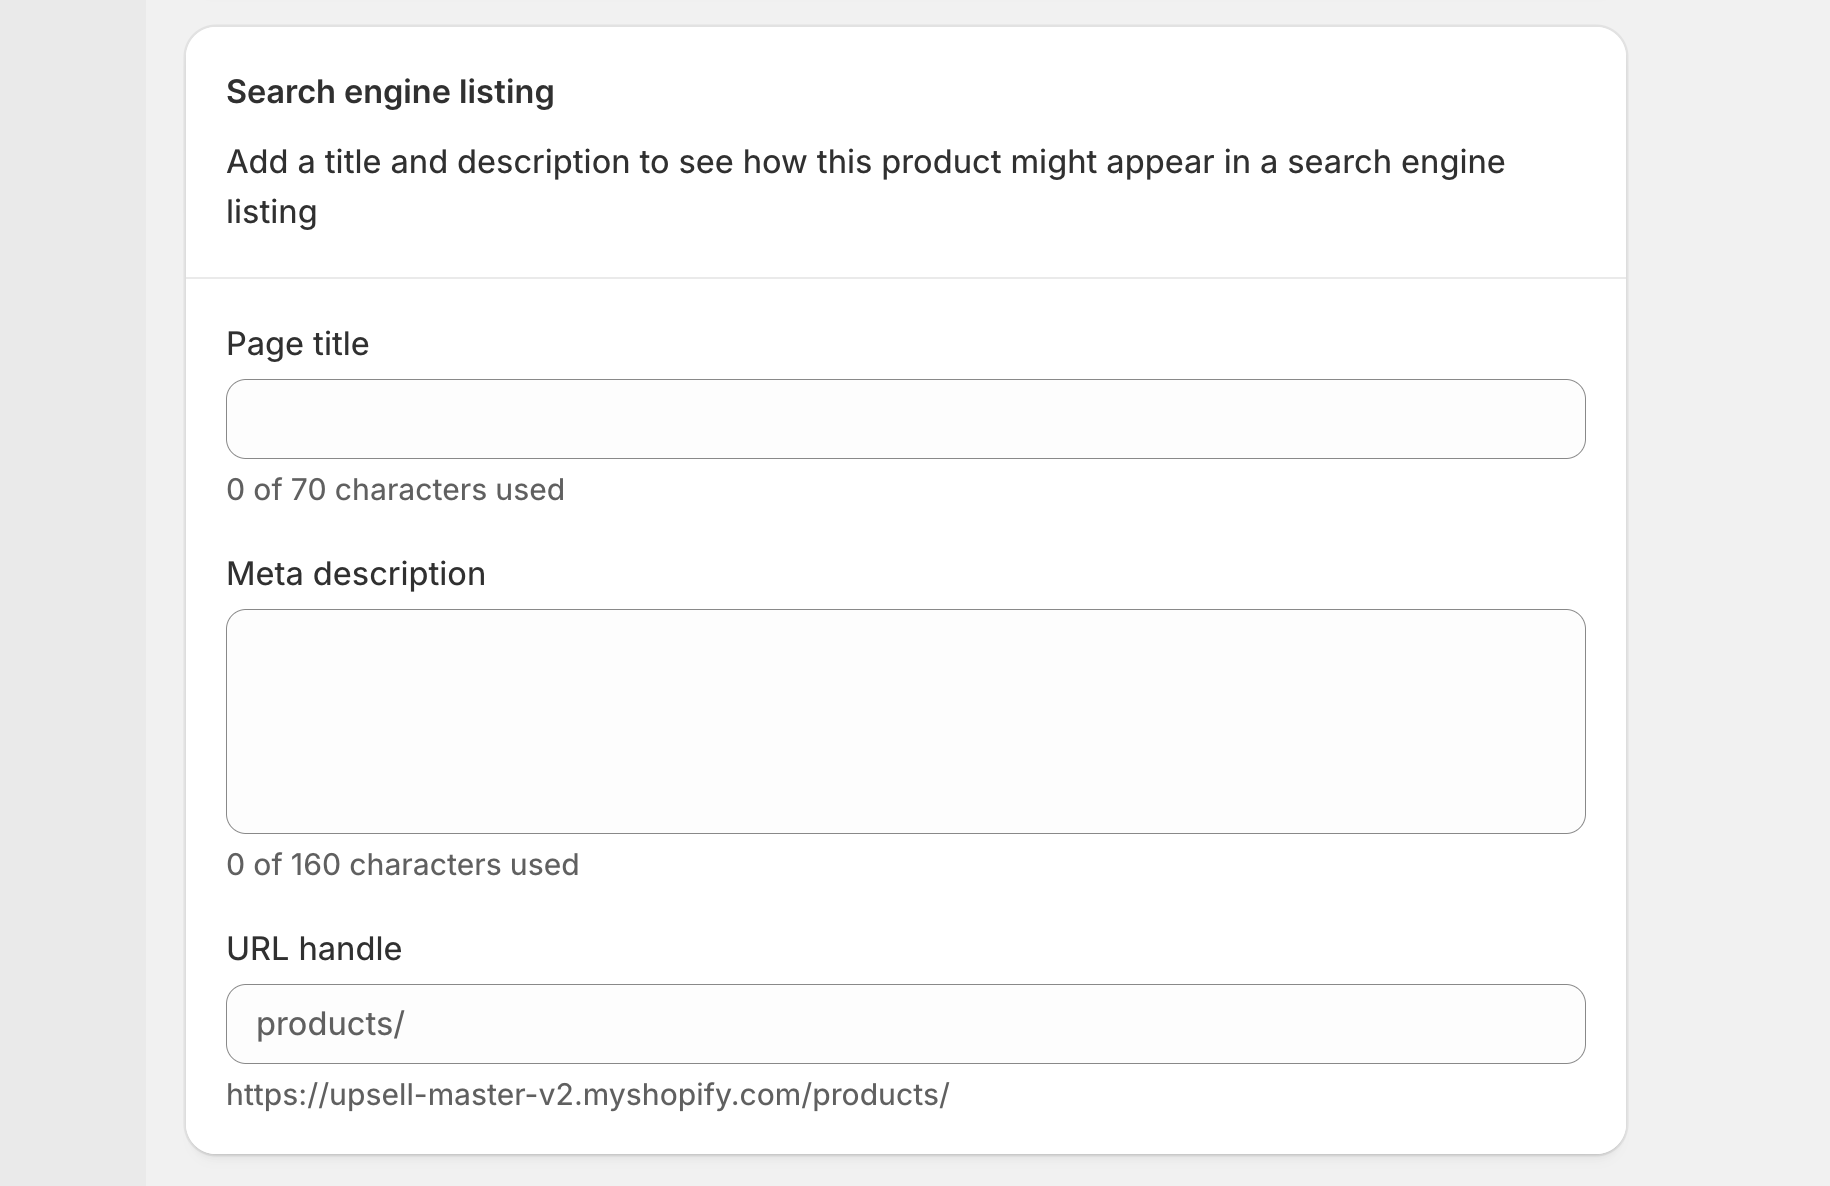
A Search Engine Optimized store can help navigate your business growth through customer demands. Proper research about your customers and their demands can cause wonders in your sales.
- Find your target audience through various powerful tools in the market, such as Ahrefs or Semrush.
- Do a thorough keyword research and collect them in a Sheet.
- Insert those keywords into your product inventory, such as product name, description, meta tags, etc.
- You can also look for SEO-friendly Shopify plugins on the Shopify App Store to make things easy.
Step 6 – Publish Your Products
Before moving to the final step, you must ensure all your product information is correct and properly formatted. You can now click the Save button and see your product published on your Shopify store.
To make it more convenient, you can find the option that says View on your website as soon as you hit save. Doing this will redirect you to the preview window, where all the product information is available.
PS: Return to the previous page to edit the product details if necessary.
Boost Your Shopify Products Today
If you’ve carefully followed the steps above, you can seamlessly add products to your Shopify store. As the new features on Shopify keep rolling out each season, we ensure you get the latest updates on all things e-commerce.
If you want to transform your Shopify store today, our team of experts is here to take your buyer experience to the next level using the timeless techniques for ultimate conversion. Skip the rest and schedule a call today!
FAQs
How to delete products on Shopify?
To delete a product on Shopify, head to your admin page and click Products > All Products. Find and select the product you want to delete. In the product details page, select Delete product. Confirm again. Your product has been deleted from Shopify.
How to add products to my store?
You can select ‘add products‘ in the Shopify admin and fill in the product details.
How many products can I add to my store?
You can add unlimited products to your Shopify store, but bulk imports may take time if you have a large inventory.
Can I import products to my store?
Yes, you can import products from a CSV file. (Helps if you download a product file from your previous store.)
How to add a digital product on Shopify?
You can find many third-party apps and plugins to include digital products in your store.
Can I hide products on Shopify without deleting them?
Yes, you can change your product status to Draft or uncheck Online Store under sales channels.